

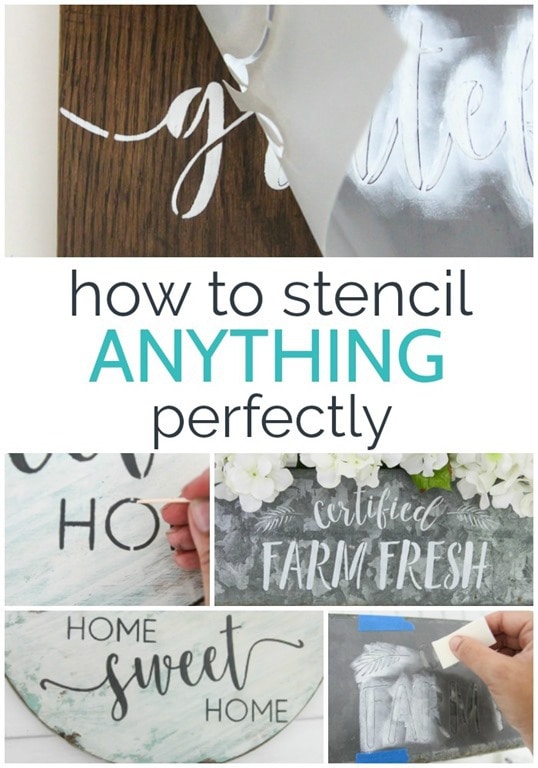
How To Paint With A Stencil On A Curved Surface
Learn how to stencil anything including metallic and woods to create unique home decor. I'm sharing the three secrets you need to know to get perfect stencil lines every time.
I take ever loved stencils. I mean that's probably obvious simply based on the fact I stenciled an unabridged flooring a few years ago!
Stencils are such a fun way to add a graphic punch to a wall, bring an old floor to life, or create a beautiful wooden sign even if your handwriting is terrible. At that place is something about magical nearly lifting up a stencil to reveal a perfect design underneath.
When I first started using stencils I definitely did not have such awesome results. It seemed similar every fourth dimension I lifted up the stencil, instead of seeing my perfect design, I saw lots of bleeding and extra smudges.
This really became a trouble a few years ago when I was making wood signs to sell. I made custom stencils to add the wording but almost every fourth dimension, I ended up with a ton of piffling imperfections.
I ended up spending way likewise much fourth dimension using tiny paintbrushes to touch on up all of my mistakes. Then frustrating!
I got to piece of work figuring out how to stencil perfectly then I could stop wasting all of my time fixing bug. I discovered a few secrets that finally made information technology possible to get those perfectly crisp stencil lines I was afterward.
These stencil hacks make the process and then much simpler and the results are seriously perfection!
This post was sponsored by I Like That Lamp. This projection and all opinions are my own. This post also contains affiliate links. If y'all brand a purchase using those links, I may receive a small pct at no additional toll to you. See my full disclosure hither.
A few weeks ago, I Similar That Lamp sent me an assortment of their new stencil designs and I was super excited to play effectually with them.
I seriously spent manner besides long deciding what to stencil and which stencils to employ. Then I got started and I only kept finding more things to stencil!
In the end I went a little stencil crazy and made three new projects using 3 of the stencils.
But commencement, hither are my stencil hacks for that perfect stencil end every time. And I also have a step-past-stride tutorial for stenciling on woods , if that's what yous are looking for.
How to stencil anything perfectly
The first stride of pretty much whatever project that involves paint is making certain the surface is clean and smooth. One of my projects involved stenciling an quondam galvanized planter and then I made certain to requite it a good scrub before trying to stencil anything. No matter what, pigment won't stick to oil, dirt, or dust.
Stencil Hush-hush i: The Agglutinative
Now you're ready to get your stencil in identify. I used to use painter'south record to concord my stencils in identify merely that really isn't the greatest. It works okay for keeping thing from moving around, only it doesn't practice anything to preclude the paint from bleeding.
Now I utilise repositionable spray adhesive instead and it is amazing.
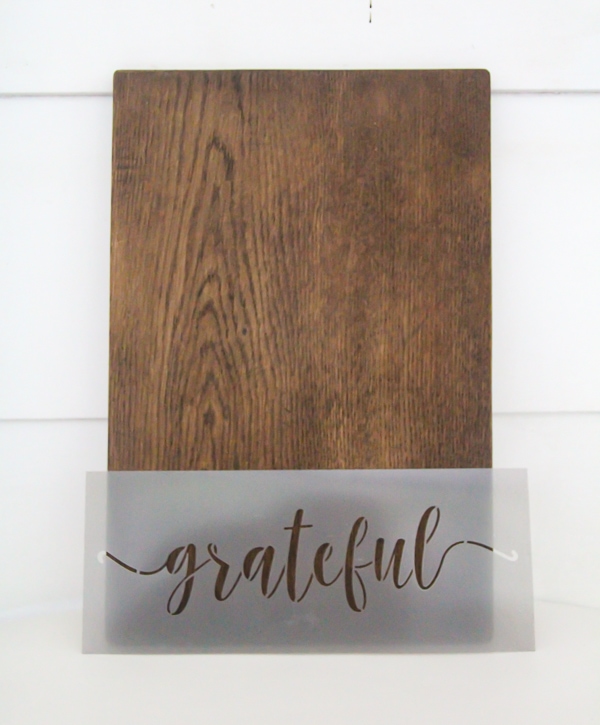
You spray a low-cal layer onto the back of your stencil and and so set it in place. (If you want your wording centered, exist sure to eye the stencil. Also check that your words are straight.)
This works so well. The agglutinative is stiff enough to hold the stencil in identify while you work, but it is super easy to remove when yous are done.
Even better, the entire stencil is firmly adhered to the surface so stray paint can't creep under the plastic around your letters.

Subsequently yous remove your stencil, there may be a very light rest left on the surface from the agglutinative. This is hands wiped away with a babe wipe or damp paper towel. (In the motion-picture show higher up, I used painter's record in addition to the adhesive spray, but then I figured out information technology actually isn't needed.)
If yous are stenciling something large like a wall or a flooring, you typically won't demand to use spray adhesive, but information technology works actually well for smaller, more detailed projects like stenciled signs.
Stencil Clandestine 2: The Paintbrush
The 2d secret is all about the brush. In that location are special stencil brushes out there and they work okay only I've never had smashing luck with them.
Sponge brushes were slightly better, but I found something that works even better.
This might sound strange, merely makeup sponges are the perfect tool for stenciling. I'm talking about the wedge shaped corrective sponges that are super cheap. The sponge has a dainty polish texture that gives a slap-up stop.

But cascade a piddling of your paint onto a paper plate or a plastic painter's palette if you accept one. Lightly dab the sponge into the pigment.
The key is to get very little paint on the sponge. Extra paint will just squish under the stencil and make a mess.
You lot can gently dab off whatsoever excess paint on your paper plate or a paper towel before stenciling.
When you start painting your stencil, gently dab the paint straight down onto the surface.
Practice NOT rub it back and forth as if you were using a paintbrush. This will definitely cause paint to squeeze under the stencil and brand a mess. Just gently up and downwardly.
You can apply arts and crafts paints, leftover latex paint, chalk paint, pretty much anything will piece of work.

Because you are merely calculation a very thin layer of paint at a time, there'southward a adept chance you are going to want to do a few coats to get adept coverage, especially if you lot are painting with white paint over woods.
Luckily because the pigment is super thin, it dries pretty quickly.

Once you lot are done stenciling, it's the moment of truth. I've got to exist honest, afterward so many fails in the past, I still get nervous when it is time to peel the stencil off.

Aye! Just wait at those lines! Beautiful!
Just wait, aren't we done? What'southward the tertiary cloak-and-dagger?
Stencil Secret 3: The Hand-painted Expect
When you are using stencils to make 'manus-painted' signs, there may exist some times you lot don't desire it to look like yous used a stencil.
Stencils have little connector lines that are a dead giveaway that you used a stencil. Sometimes these lines are so perfectly placed, it adds to the beauty of the finished product.

But occasionally you might desire to 'hibernate the show'. If that's the case, y'all are going to need a fashion to perfectly fill in those teeny tiny little gaps in the paint without ruining all of your hard work.
The solution?
Toothpicks .
Just take a toothpick and lightly dip information technology in your pigment. Once more, you lot actually don't want a ton of pigment on in that location, so information technology's a practiced thought to gently dab any excess off offset.
Then advisedly use information technology similar a paintbrush to fill up in the letters. Information technology'south easy and information technology works beautifully.


Those are my three hacks for perfect stenciling every fourth dimension:
- spray adhesive
- makeup sponges
- toothpicks
And when you've finished your stenciling projection, I've got all the details on the fastest, easiest manner to make clean paint and spray adhesive from stencils right here .
Iii New Stencil Projects
So what did I finish upward making? You can cheque out the finished projects below and you tin see the tutorials for each at the links.


How to Make a ten Minute Farmhouse Centerpiece

Grateful photo clipboard. (Full tutorial in my book Wood Plank Projects: 30 Simple and Creative DIY Decor Ideas for Your Dwelling house and Garden )

How to brand this piece of cake Dwelling house Sweetness Home sign (It's a super cute wreath alternative for your forepart door.)
And since I'm a stencil lover, here are my other favorite stenciling DIYs:
- H ow to Stencil on Wood with Beautiful Results
- The all-time stencils for signs plus how to choose 1
- How to brand a stencil the cheap and easy way
- The best way to clean stencils
I'd dearest for you to share this mail service on Pinterest!

Happy stenciling!
Materials
- Stencil of your selection
- Stencil Ease Repositionable Stencil Spray Adhesive
- Cosmetic Wedges
- Paint
- Tooth Picks
Instructions
- Brand sure the surface you are stenciling is clean and smoothen.
- Apply repositionable spray adhesive to concur your stencil in place.
- Pour a little of your pigment onto a paper plate.
- Lightly dab a corrective sponge in the paint. Wipe off whatever backlog paint.
- Gently dab the paint straight down onto the area you are stenciling.
- Skin the stencil off.
- To fill in the stencil marks, have a toothpick and lightly dip it in your paint. Carefully use it like a paintbrush to fill in the stencil gaps.

Google Web Story: How to Stencil Anything

How To Paint With A Stencil On A Curved Surface,
Source: https://www.lovelyetc.com/how-to-stencil-anything-3-secrets-to-perfect-results-every-time/
Posted by: cotnerfolearribled.blogspot.com
0 Response to "How To Paint With A Stencil On A Curved Surface"
Post a Comment